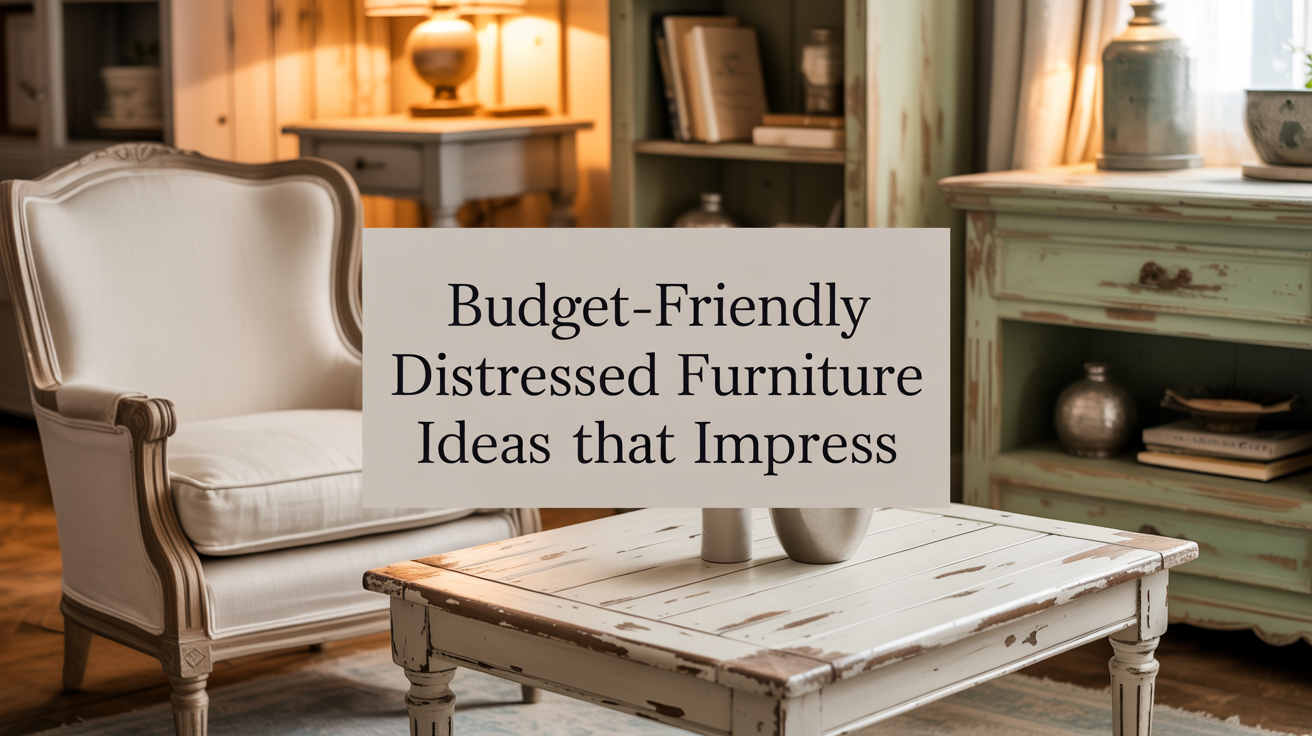
Looking to give old furniture new life without breaking the bank? You’re in the right place.
Distressed furniture adds character to any room, and the best part is you don’t need fancy tools or a big budget to create it.
In this blog, I’ll walk you through simple techniques that change tired pieces into showstoppers. We’ll cover everything from basic sanding tricks that look professionally done. These are the same approaches I’ve used in my own home,
I get it. You want your space to look incredible without spending a fortune. Maybe you’ve scrolled past expensive farmhouse pieces online and thought, “I could never afford that.”
Here’s the truth: you can create that same look yourself.
I’ll show you straightforward ideas that deliver real results. Let’s turn those thrift store finds into furniture you’ll be proud to show off.
What is Distressed Furniture?

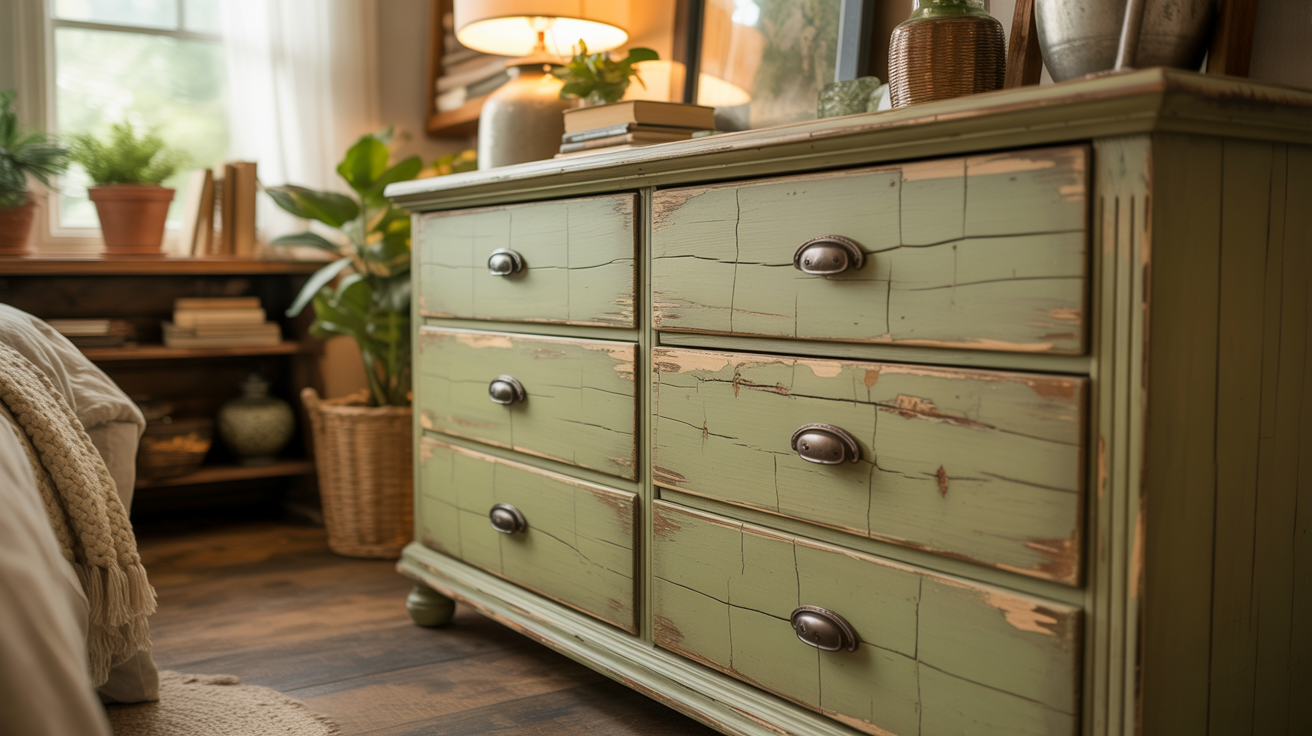
Distressed furniture looks old on purpose. It’s a style where you intentionally create scratches, dents, worn edges, and chipped paint to mimic natural aging. The technique comes from people wanting the antique look without paying antique prices.
Originally, craftsmen copied the wear patterns found on genuinely old European furniture, paint rubbed off at edges, wood darkened in spots, surfaces softened by years of use.
The trend keeps growing because people want homes with personality. Mass-produced furniture all looks the same, but distressed pieces feel Farmhouse, shabby chic, and rustic styles all rely heavily on distressed finishes. Social media has made it even more popular as people share their DIY updates.
Distressed furniture gives you character without the wait or the cost. You get charm and warmth that brand-new furniture simply can’t provide. A well-distressed distressed dresser looks collected and loved, not just purchased. Plus, if you make it yourself, you control exactly how worn it looks.
Tools and Materials Needed for Distressing
You don’t need expensive specialty items to distress furniture. Most supplies are basic and affordable.
I’m going to show you exactly what to buy, so you’re not wasting money on things you won’t use.
- Basic Supplies: Sandpaper in various grits, steel wool, and tack cloth handle the distressing work. Paint options include chalk, latex, or milk paint, plus wax or polyurethane for protection. Brushes, sponges, rags, and household items like candles create effects without extra cost.
- Optional Tools: Scrapers, wire brushes, and specialty distressing tools add unique texture and aged patterns. These extras elevate your work but aren’t necessary for beautiful results on your first projects.
- Unique Materials: Recycled items like old windows, luggage racks, or furniture remnants become upcycling materials for added character. Using what you already have keeps costs down while making pieces truly one-of-a-kind.
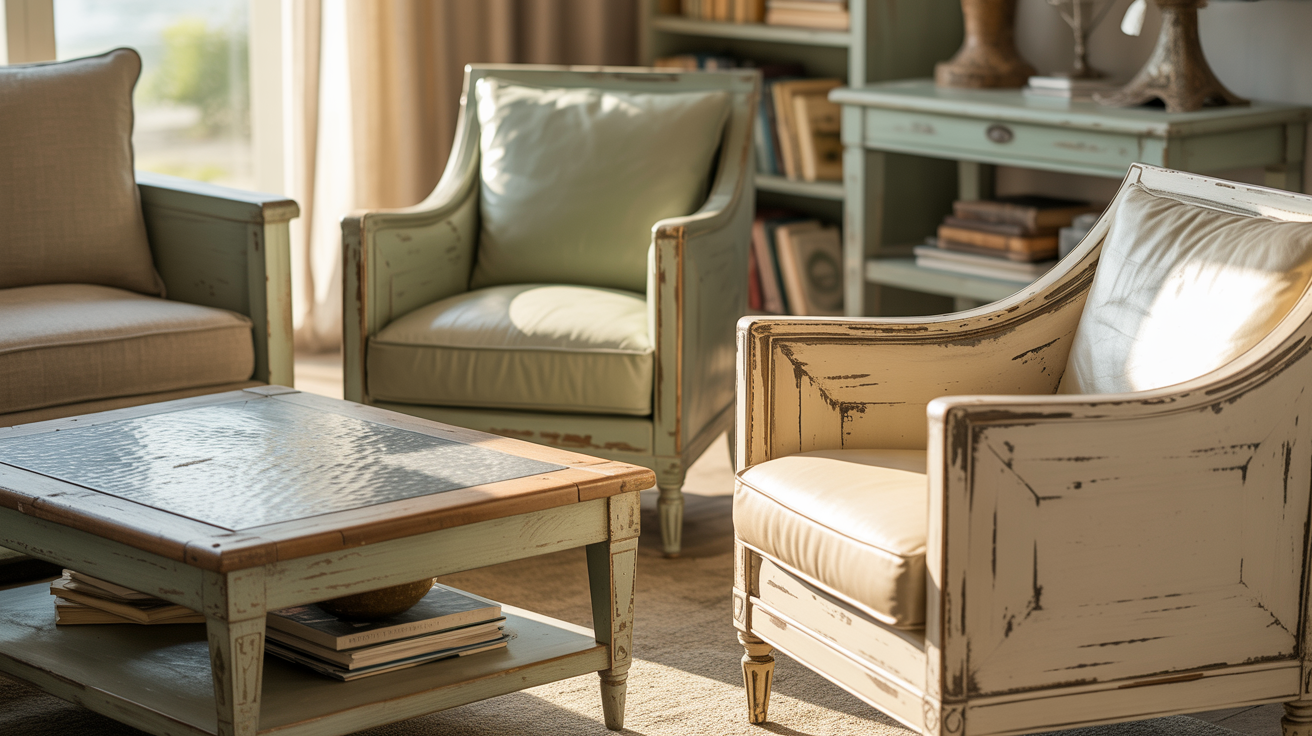
Budget-Friendly Distressed Furniture Ideas
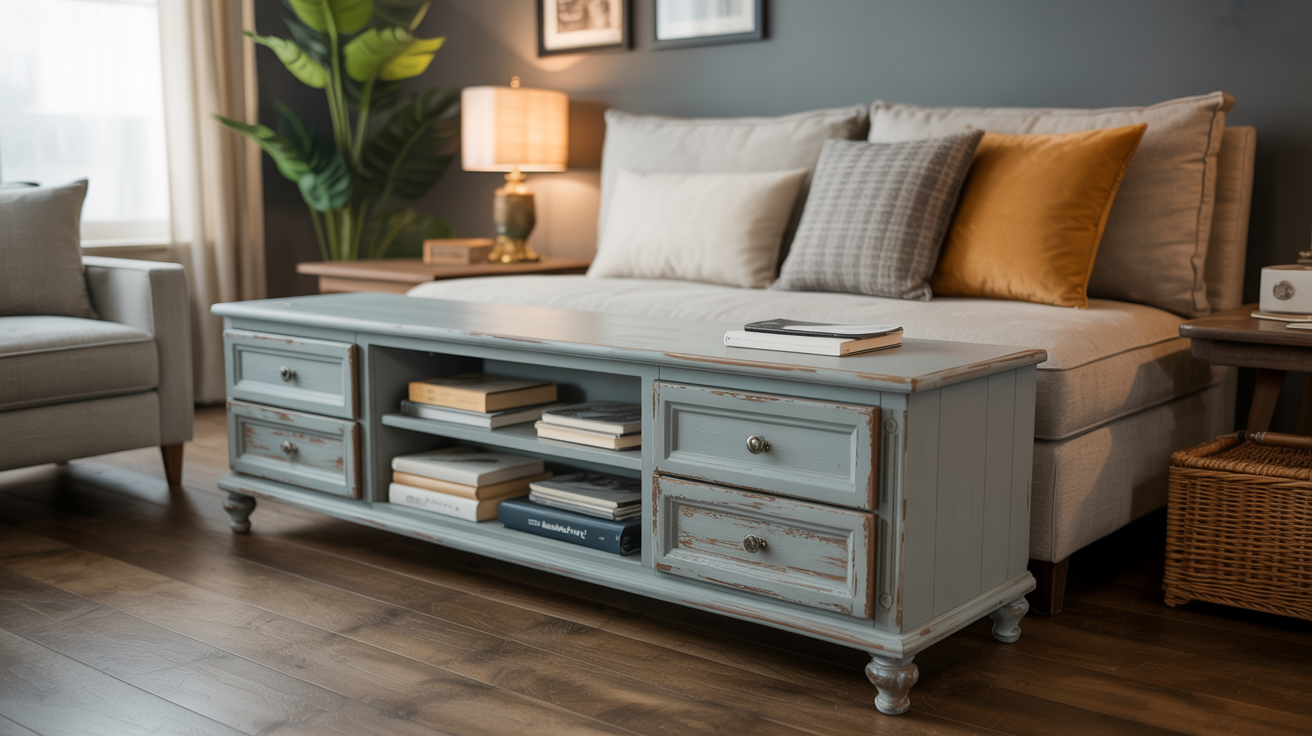
Distressed furniture adds character and charm to any room without the high price tag of buying vintage pieces. The worn, weathered look is easier to create than you think, and it’s perfect for covering up imperfections in thrift store finds. I’m going to show you eleven ways to distress furniture on a budget using simple techniques anyone can master.
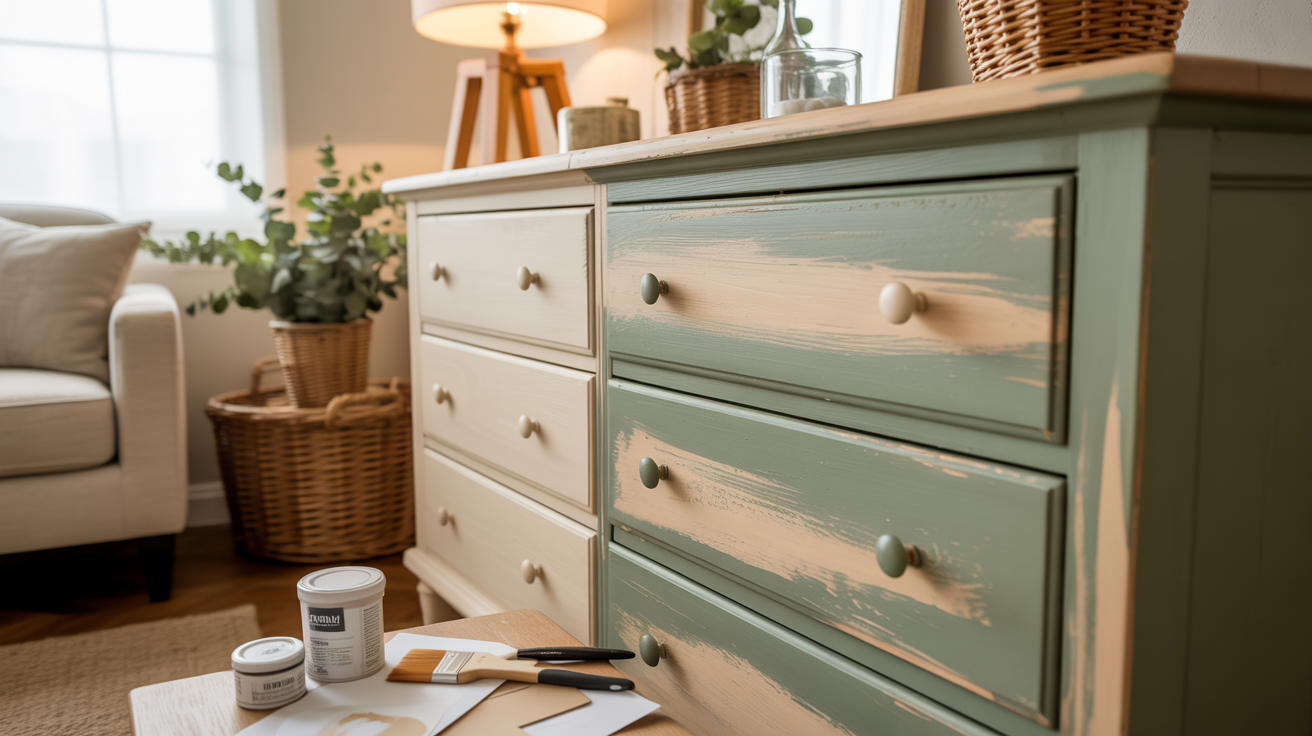
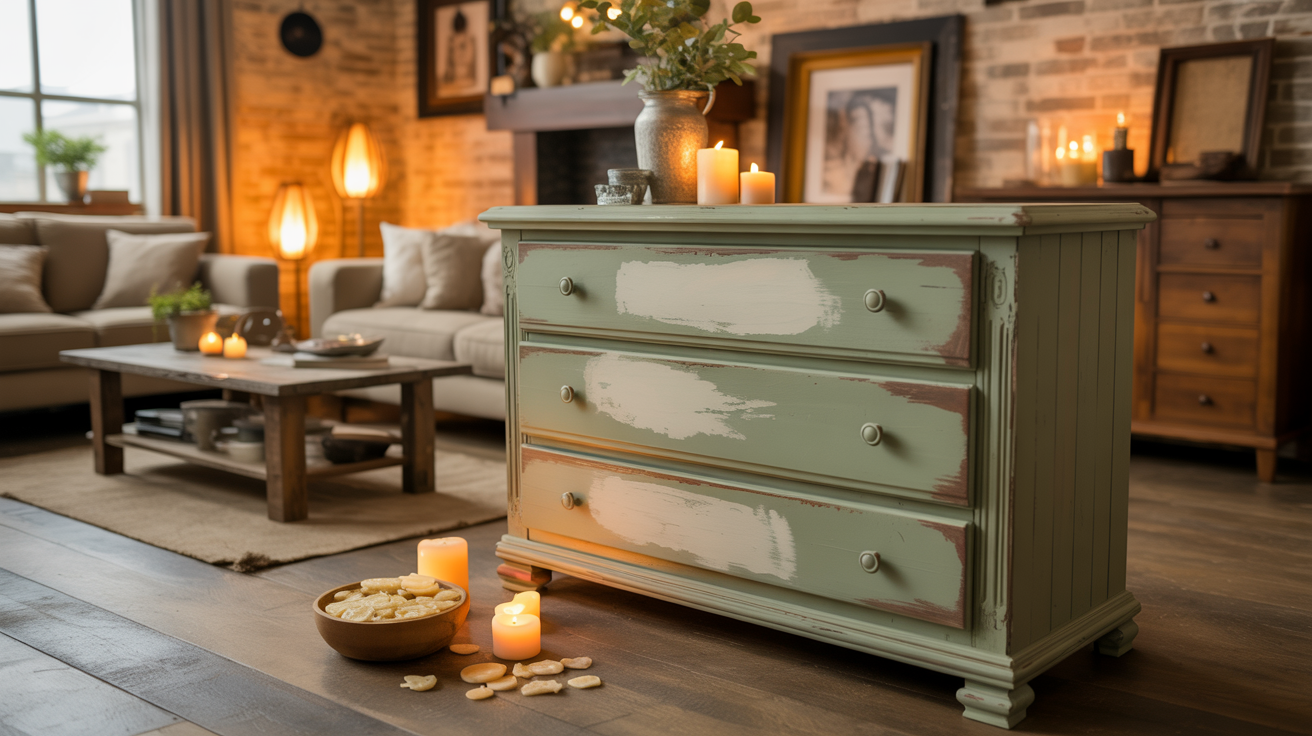
Sandpaper Distressing Method
This is the easiest distressing technique for beginners. You can control exactly how much wear you want to show.
How to create this look:
- Paint your furniture piece in your base color and let it dry completely for 24 hours
- Use medium-grit sandpaper (80-120 grit) to sand edges, corners, and areas that would naturally wear over time
- Focus on high-touch spots like drawer edges, table corners, and chair legs for realistic aging
The beauty of this method is that you can always sand more, but can’t undo it, so start light. Wipe away dust with a damp cloth and seal with clear wax or polyurethane to protect your work.
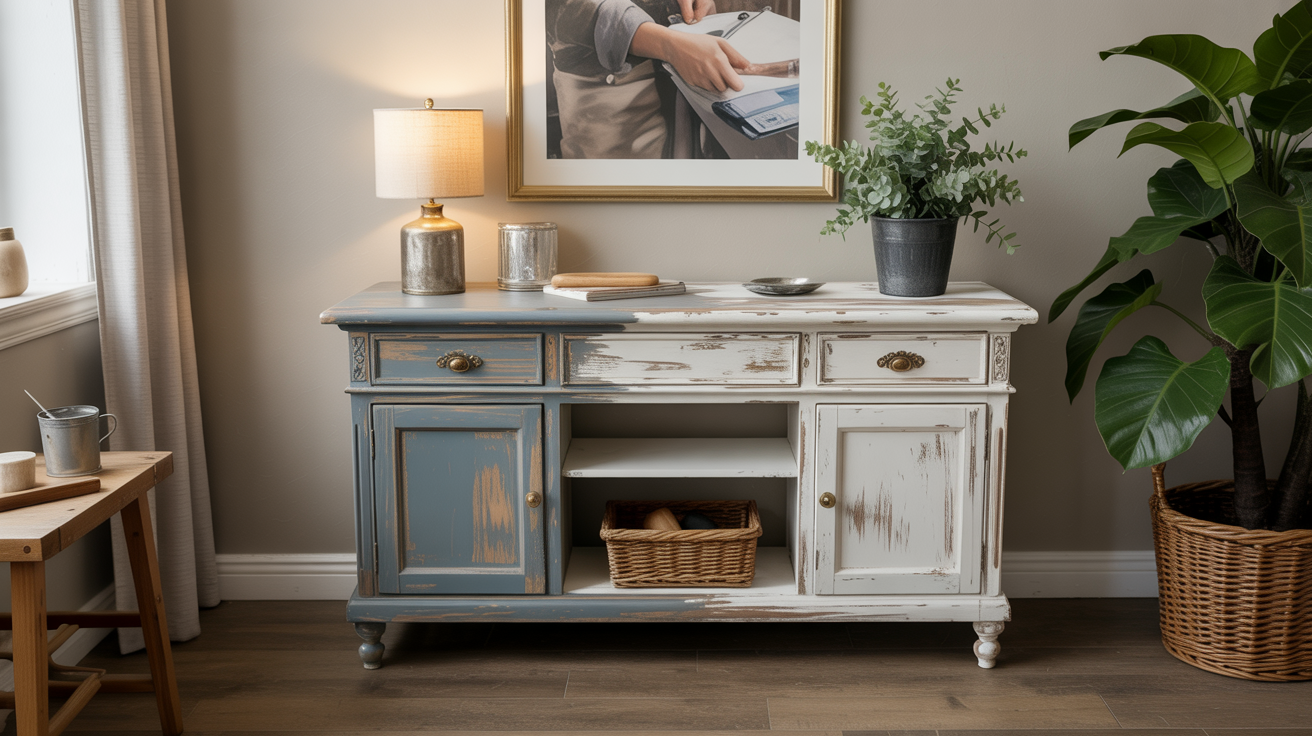
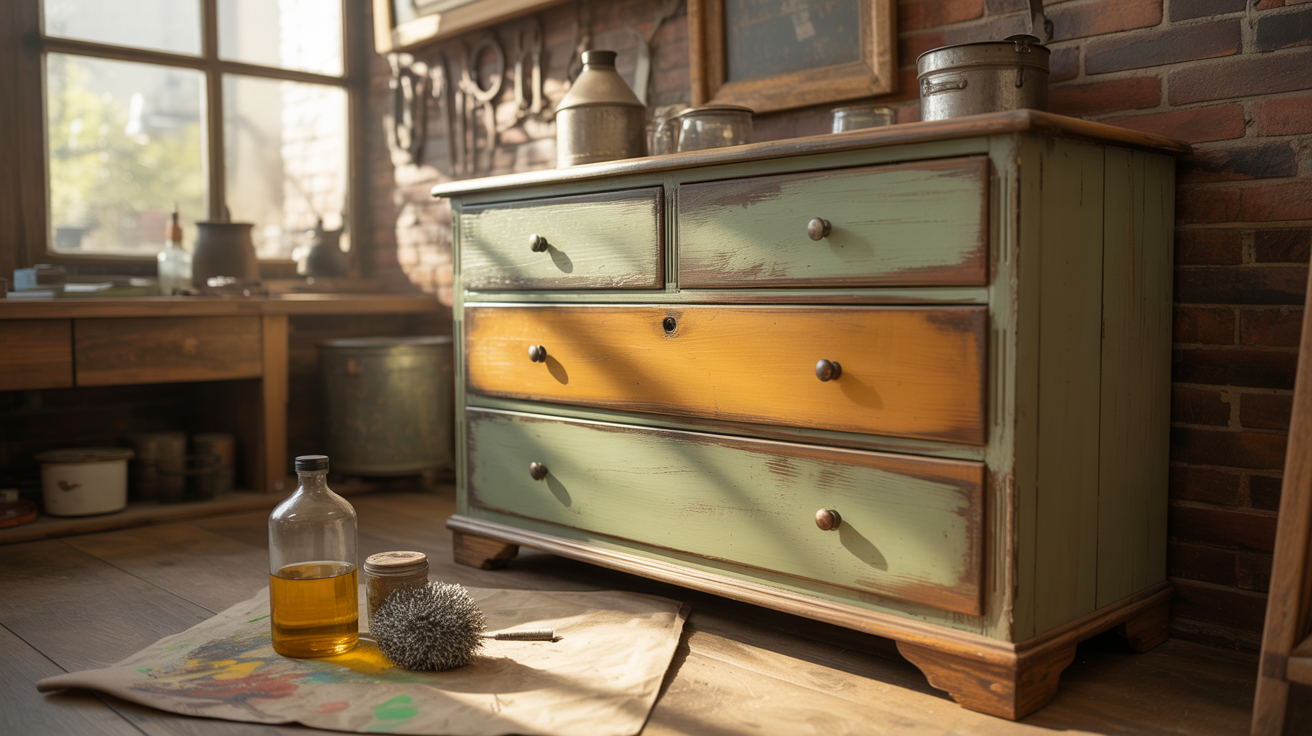
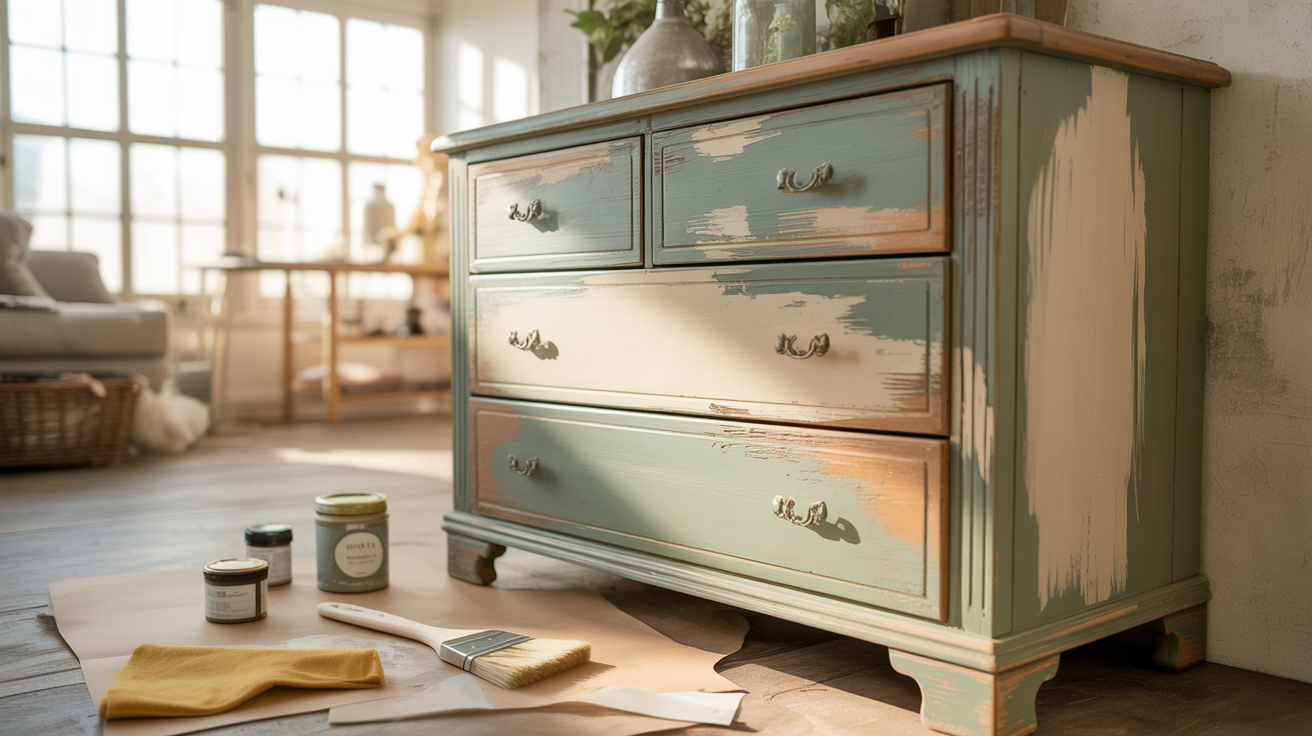
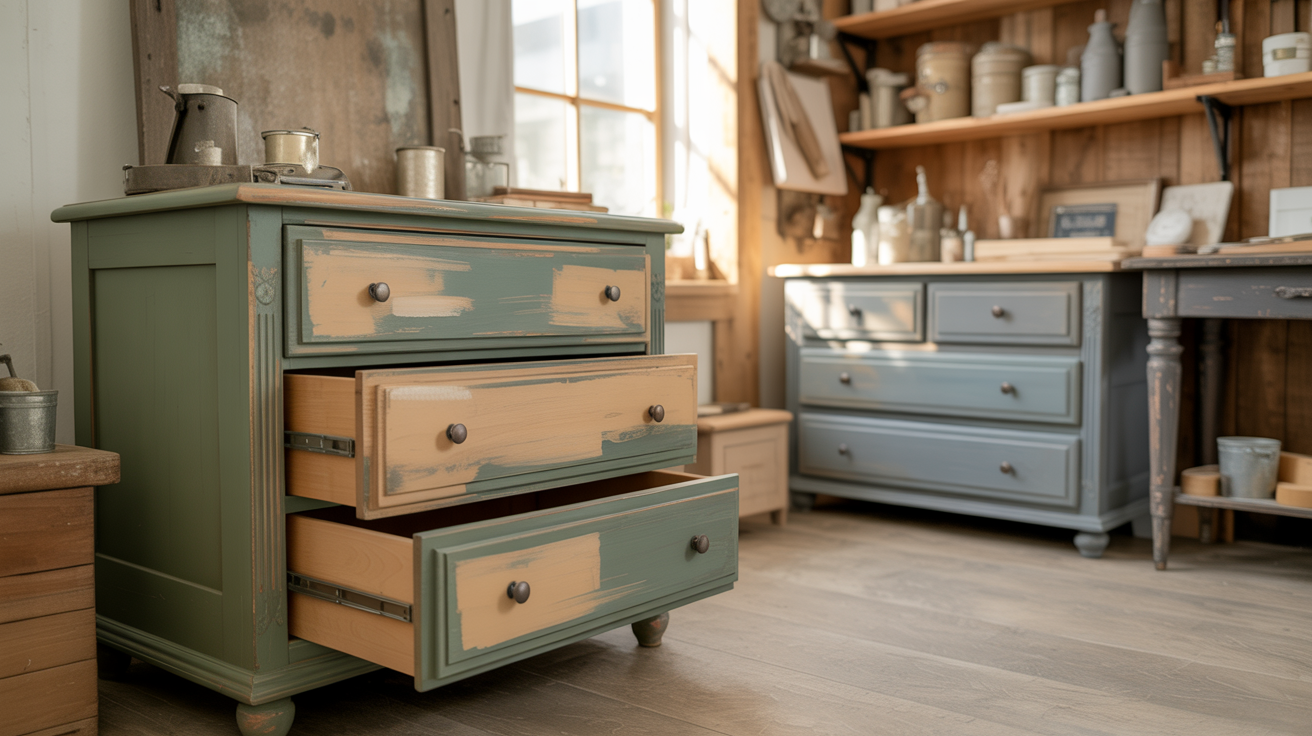
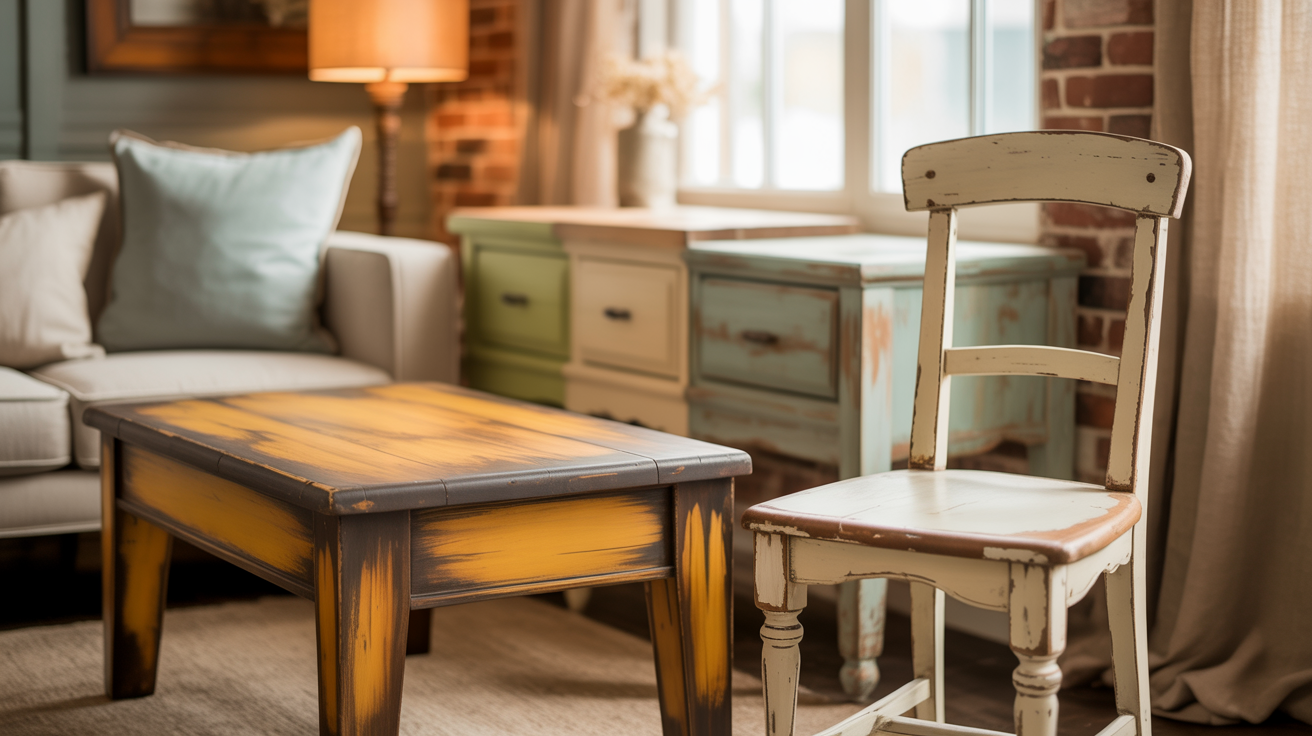
Two-Tone Layered Paint Technique
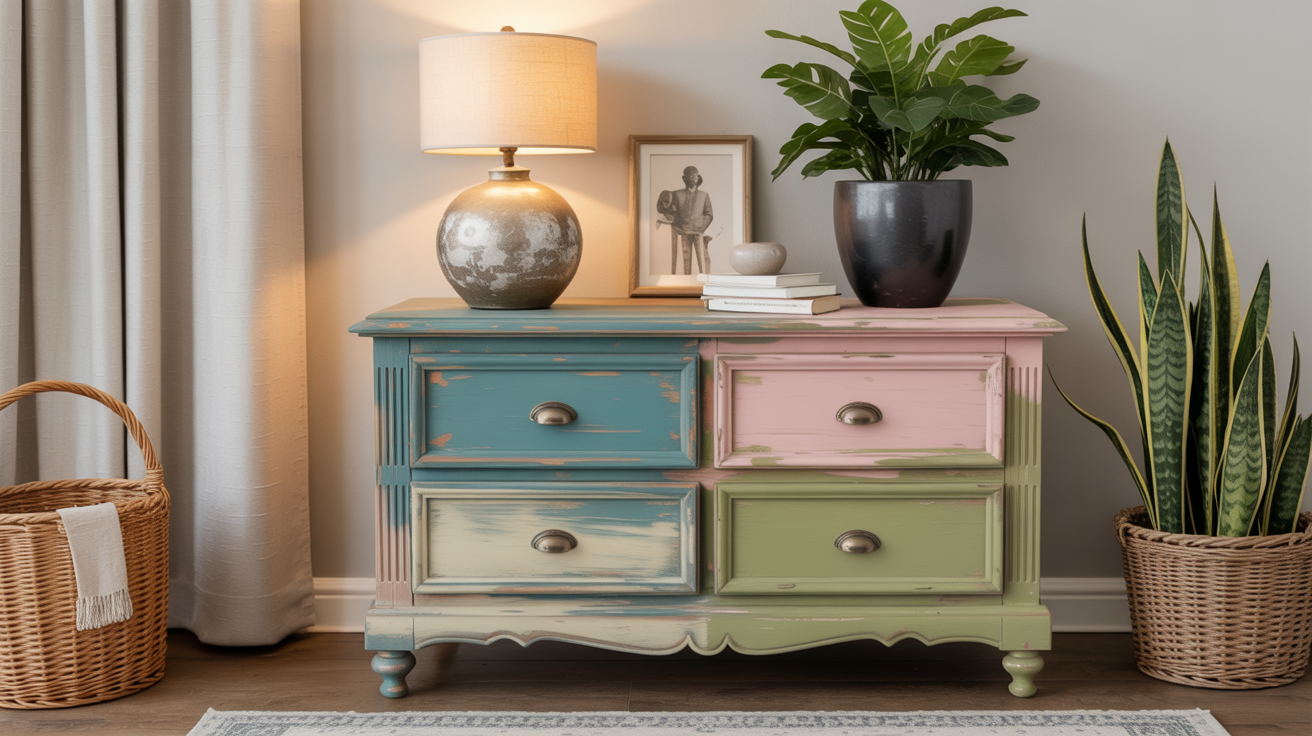
Create depth by letting a contrasting color peek through your top coat. This gives furniture a naturally aged appearance.
How to create this look:
- Paint your furniture in a base color (darker shades work best) and let it dry overnight
- Apply a second color on top without completely covering the first layer
- Sand random areas to reveal the bottom color, focusing on edges and flat surfaces where paint would chip
This technique works great on dressers, side tables, and chairs. The layered colors add visual interest and make the piece look like it’s been painted multiple times over the years.
Dry Brush Weathering
Dry brushing creates a soft, worn look that’s perfect for farmhouse style. It’s quick and nearly impossible to mess up.
How to create this look:
- Dip a dry brush into paint and wipe most of it off on a paper towel until barely any paint remains
- Lightly drag the brush across the furniture surface in the direction of the wood grain
- Build up layers slowly, adding more in some areas than others for an uneven, natural look
This works especially well with white or cream paint over dark wood. The paint catches on raised grain and details, leaving valleys darker for dimension.
Vinegar and Steel Wool Aging
Create an authentic aged gray finish using household items. This chemical reaction works only on raw or stripped wood.
How to create this look:
- Soak steel wool in white vinegar for 24 hours in a glass jar until the liquid turns dark
- Apply the mixture to bare wood using a brush or cloth and let it sit for 5-10 minutes
- The wood will turn gray immediately, repeat applications for darker results
This method costs almost nothing and creates a genuine weathered look that paint can’t match. The reaction brings out wood tannins, so results vary by wood type.
Wet Distressing Technique
Remove paint while it’s still wet for a rustic, chippy appearance. This creates dramatic texture quickly.
How to create this look:
- Apply paint to your furniture and wait 5-10 minutes until it’s tacky but not fully dry
- Use a damp rag to wipe away paint in areas where natural wear would occur
- Work in sections so the paint doesn’t fully dry before you can manipulate it
This technique gives you more control than sanding and creates softer edges. It’s perfect for achieving a heavily distressed look without harsh lines.
Petroleum Jelly Resist Method
Create authentic paint chips and peeling without waiting years. The petroleum jelly prevents paint from sticking.
How to create this look:
- Apply petroleum jelly to areas where you want paint to chip off (edges, corners, raised details)
- Paint over the entire piece, including the petroleum jelly spots
- Once dry, use a cloth to rub away paint where you applied petroleum jelly will lift off easily
This creates realistic paint loss that looks like decades of wear. Use it sparingly for subtle aging or generously for heavily distressed pieces.
Candle Wax Distressing
Similar to petroleum jelly but with more control over small details. Great for furniture with carved elements or trim.
How to create this look:
- Rub a plain candle over areas where you want the top paint layer to chip away
- Apply your top coat of paint directly over the wax
- Sand lightly after drying, and the wax areas will reveal the color underneath
The wax creates sharp, defined chips rather than soft wear marks. This works beautifully on detailed furniture where you want to highlight specific carved areas.
Tea Stain Aging
Add an antique yellow-brown tone to painted furniture for instant age. This technique adds warmth without darkness.
How to create this look:
- Brew strong black tea and let it cool completely
- Apply the tea to painted furniture with a brush or rag, wiping away excess
- Letting it dry naturally will leave subtle brown staining in crevices and edges
This works especially well on white or cream-painted pieces. The tea settles into grooves and details, mimicking years of dust and oxidation.
Hammered and Beaten Look
Add dents and dings intentionally for a piece that’s been well-loved for decades. This physical distress creates real texture.
How to create this look:
- Before painting, use a hammer, chain, or screwdriver to create small dents and scratches in the wood
- Focus on edges and flat surfaces where real damage would occur from daily use
- Paint as the dents will show through and catch paint differently than smooth areas
Don’t go overboard, or it looks fake. A few strategic marks go a long way toward creating believable age and character.
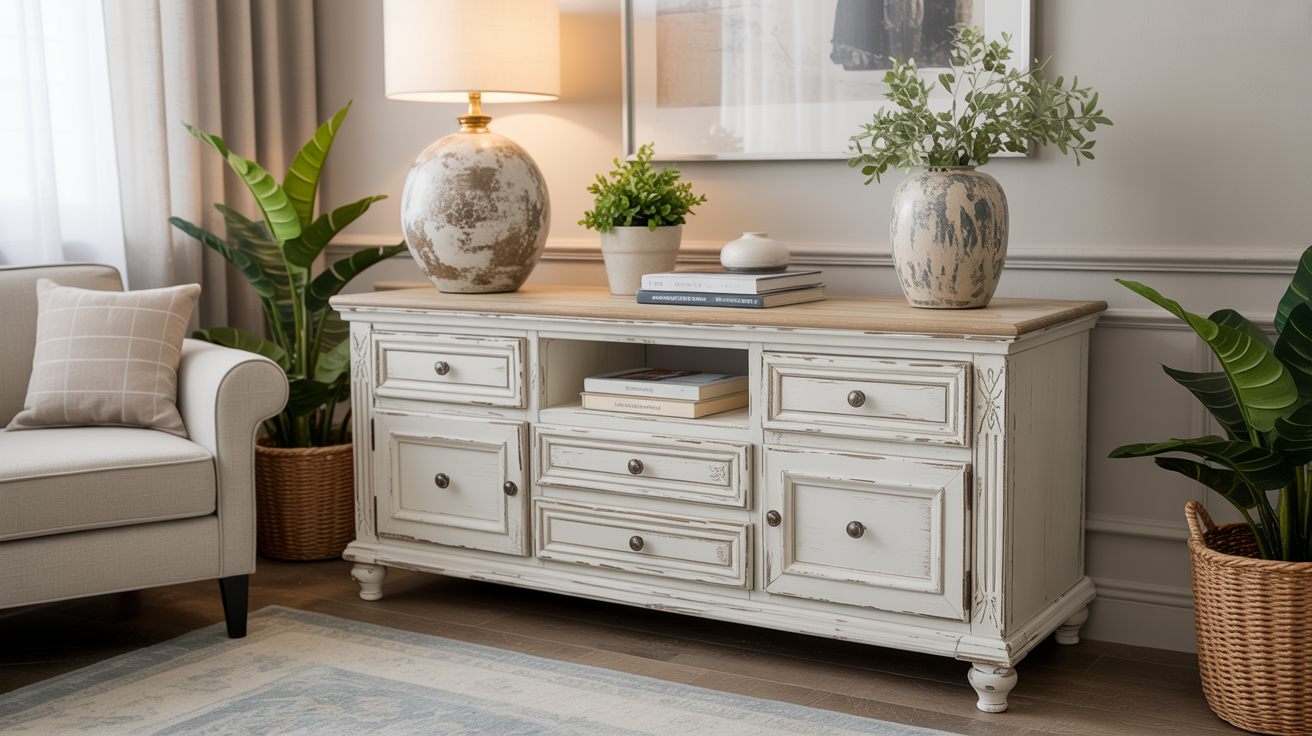
White Wash Over Dark Wood
Create a beachy, coastal look by letting dark wood show through thin white paint. This lightens furniture without hiding wood grain.
How to create this look:
- Mix white paint with water in a 1:1 ratio to create a thin wash
- Brush it onto raw or stained wood and immediately wipe away excess with a cloth
- Repeat layers until you reach the desired opacity, letting each layer dry between applications
This technique works great on pine or oak furniture. The wood grain stays visible while the overall piece gets lighter and brighter.
Crackle Finish Technique
Create authentic-looking cracks in paint using special crackle medium or glue. The cracks form as the paint dries.
How to create this look:
- Paint a base coat and let it dry, then apply crackle medium or Elmer’s glue in a thick layer
- Apply your top coat of paint while the crackle medium is still tacky (don’t brush over areas twice)
- Watch cracks form as it dries. Larger cracks form with a thicker medium and a thicker top coat
The size and direction of cracks depend on how you apply the layers. This creates dramatic aging, perfect for shabby chic or cottage styles.
Examples of Distressed Furniture Projects
Let me show you what’s actually possible with distressing. These real project ideas work for different skill levels and budgets. Pick one that matches your comfort zone and available time. You’ll be surprised by how eye-catching the results can be.
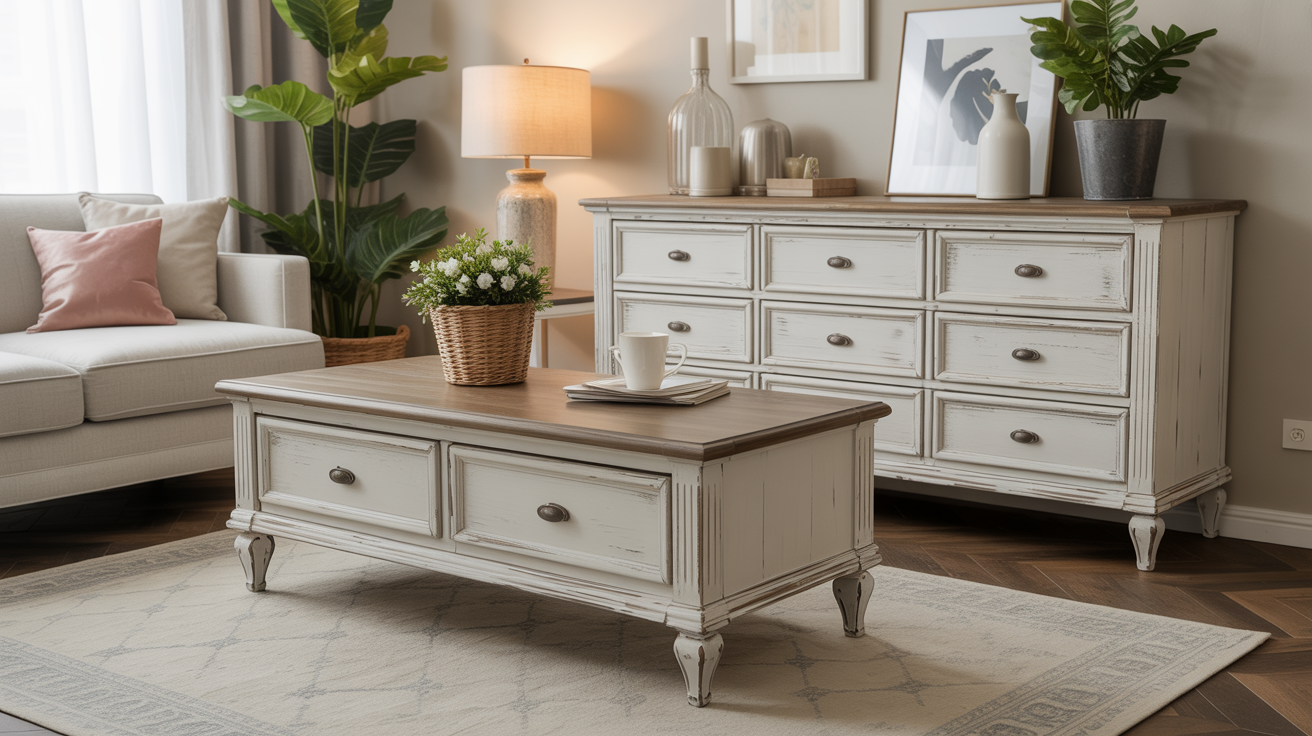
- Small Furniture Projects: Side tables, nightstands, and chairs are perfect beginner pieces that take a weekend to complete. Sand, paint two coats, distress the edges, and seal for under $25 total. These quick updates teach you core techniques without overwhelming you.
- Large Furniture Projects: Wardrobes, console tables, and dressers require multi-step processes with base coats, contrasting layers, and strategic distressing. Plan for several days of work with proper drying time between steps. You’ll create statement pieces that cost hundreds less than buying new.
- Unique Upcycling Ideas: Turn old wooden ladders into leaning shelves or blanket displays with paint and distressing. Attach legs to vintage windows for unique glass-top coffee tables. Improve antique trunks into storage ottomans by adding cushioned tops and distressed finishes for conversation-starting furniture.
Budget-Friendly Tips for Distressed Furniture
Distressing furniture on a budget is absolutely possible. In fact, some of my best pieces cost under $30 total. I’m going to show you where to find cheap materials and smart shortcuts that save money without sacrificing quality.
- Sourcing Materials: Hit thrift stores, flea markets, and garage sales for solid wood furniture at $5-50 per piece. Look for sturdy construction over pretty finishes since you’ll improve them anyway. Use leftover paint from other projects, wood scraps for repairs or added details, and household items like candles or vinegar for distressing effects.
- DIY Hacks: Layer inexpensive latex paint from hardware stores instead of pricey specialty finishes for the same distressed look. Mix leftover paint colors to create custom shades that cost nothing extra. Repurpose or combine old furniture pieces, attach table legs to an old door for a desk, or stack vintage suitcases into side tables.
- Smart Process: Start with thorough cleaning and sanding to avoid paint adhesion problems that waste materials. Apply thin coats of paint and let each dry completely to prevent drips and do-overs. Test distressing techniques on hidden spots first before committing to visible areas. Planning and working methodically minimizes mistakes, saves supplies, and keeps your budget less.
Conclusion
You’ve got everything you need to create beautiful distressed furniture ideas that won’t drain your wallet. From simple sanding techniques to unique paint finishes, these methods work for beginners and experienced DIYers alike.
Remember, the beauty of distressed furniture is in its imperfections. You don’t need to be perfect to get great results. Start with one small piece, try a technique that speaks to you, and see where it takes you. That old dresser or thrift store chair could become your favorite piece in the house.
Ready to start your first project? I’d love to hear which technique you’re trying first. Drop a comment below and share your progress. And if you found these distressed furniture ideas helpful, pass this along to a friend who’s been eyeing that worn-out table. Happy changing|
Frequently asked questions
What is distressed furniture?
Distressed furniture is pieces intentionally aged or worn to create a vintage, rustic look. It features scratches, dents, chipped paint, or weathered finishes that add character. You can buy it pre-distressed or create the effect yourself using simple techniques like sanding, scraping, or layering paint. It’s popular in farmhouse and shabby chic decor styles.
How do you distress furniture on a budget?
Use sandpaper to rough up edges and surfaces after painting. Try the dry brush technique with inexpensive craft paint. Candle wax under paint creates authentic chippy layers. A hammer or chain adds realistic dents. Most supplies cost under $20 total, and thrift store finds make perfect practice pieces.
What type of paint works best for distressing furniture?
Chalk paint and latex paint both work great for distressing. Chalk paint requires less prep and sands easily for a worn look. Regular latex paint is budget-friendly and widely available. Skip expensive specialty paints. Hardware store basics work just fine. Matte or flat finishes distress better than glossy ones.
Can you distress furniture without sanding?
Yes. Use a wet rag to wipe away paint while it’s still damp for a streaky look. Apply dark wax over light paint for instant aging. Try the vaseline method. Apply petroleum jelly before your top coat, then wipe away for natural-looking wear. These techniques save time and create less mess.
What furniture is easiest to distress for beginners?
Start with small wooden pieces like picture frames, side tables, or chairs. Flat surfaces are easier than detailed carvings. Solid wood distresses better than laminate or particle board. Thrift store finds are perfect for practicing since mistakes don’t matter. Simple designs let you focus on mastering techniques first.
Leave a Reply